Photography Setup
In December I decided to treat myself to a Nikon D3300 digital camera from Costco. The kit came with 2 lenses, a battery, case, and wifi adapter (great in this case).
I tried a trash can setup that Jim had sent me with little success (mostly due to the size of the kits I paint and not anything wrong with the setup) with some really nice backgrounds he sent me a link to as well..
So, I went online and found a small photography studio kit that would accommodate the figures I paint and then replaced the tabletop tripod for one that extends (due to a lack of table space to set the camera and box on the same surface).
The hardest part of all of this is getting the camera settings right to take the photo. I don't use a flash because that washes out the piece. I use the LED lights that came with the light box and shine them at a forward angle through the lightbox. My camera complains at times that it wants to use the flash but I tell it to shut up and take a photo anyways.
The wifi connector comes in handy as a remote so I'm not wiggling the camera as I take the photo. This is important because I'm taking the photos at a low ISO with a long shutter speed (thanks Jim and Jack for playing with a camera and helping me with ideal settings). The range that seems right to start with for most of my pieces is an ISO of 200 and shutter speed around 1/20s. This lets the lens take in light while keeping the detail on the piece so it can be seen.
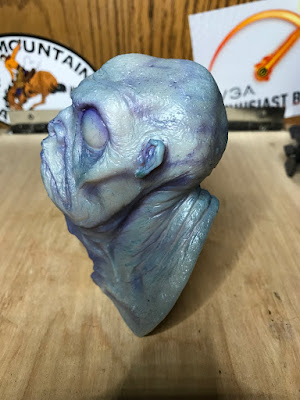
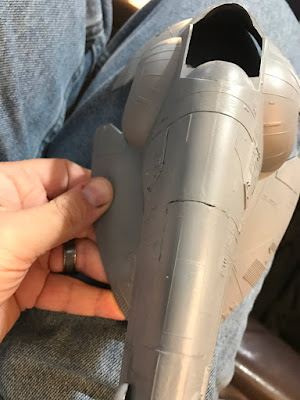
I have to say that I'm fairly happy with how my photographs are coming out. I'm sure that the size of the piece will make the technique vary some (as well as the settings).


Comments
Post a Comment