Slave 1 - AMT Model - Painting [Part 2]
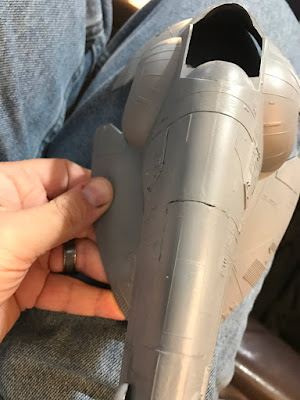
So I began by priming the model in duplicolor dark grey sandable primer. This was to give me a nice base color. I then went over that with Model Air Steel and then a Model Air USAF Light Grey. this gave the model a shiny metal look but then hid that under the light grey.


After getting these base coats in place I then wanted to start adding the colors and chipping to the piece. (Please note, I did not seal in between these steps mainly because I did want some chipping of the grey color as well)
I had bought AK Interactive Chipping Essentials and used the heavy chipping agent sprayed on via airbrush around the edges of the model in the areas where I wanted chipping to occur.

Model Air Hull Red and Middouri Green were then used to establish the colors on the model in the appropriate areas (and in some not so appropriate areas which will be covered using masking and another coat of the grey)

I'm sure that this is what Slave 1 looked like when it rolled straight off of the showroom floor. But even the Slave 1 in the movies had chipped paint (Like Bobba Fett couldn't afford to re-paint it annually).

I then followed the directions and began chipping the paint off by using water and in this case I used Q-tips (though these don't last as long as I wish). This chipped off a bit of paint the way I wanted it around the edges, some of the chips went through tot he dark grey primer and some went to the light grey. I can imagine that sitting for many years this variation in the paint chipping would be realistic.

I finally hit the point where I thought the chipping was looking good. A coat of finish to protect the effect and next will be masking (looking forward to using a masking technique from Jerseyfest 2 years ago), hit the light grey again and then I'll protect that and move toward a slightly darker grey with some chipping in some of the grey areas.

Comments
Post a Comment